Set Up a ConnectNetwork Account
| Description | Click to enlarge |
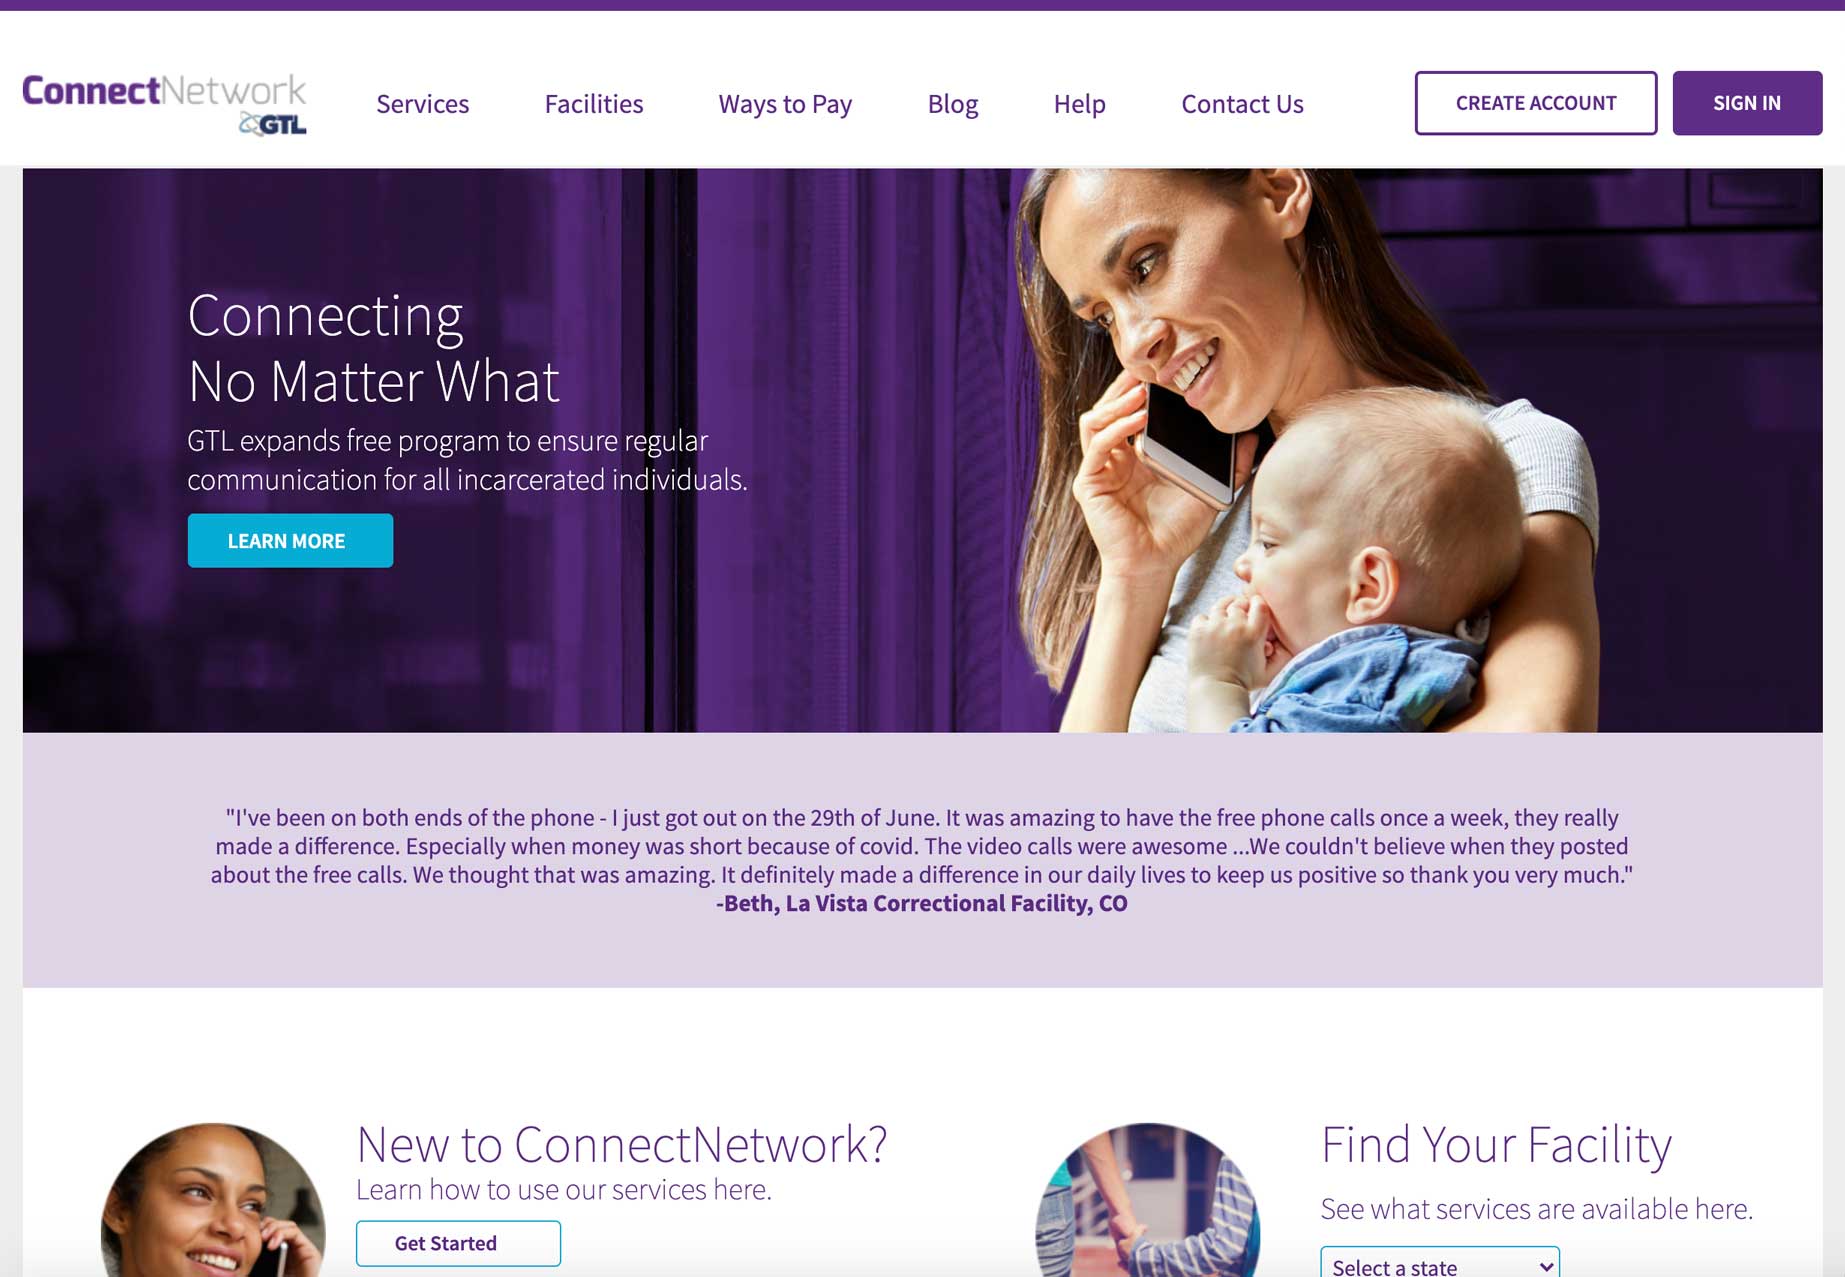
| 1. Click the “Create Account” button on the top right. |  |
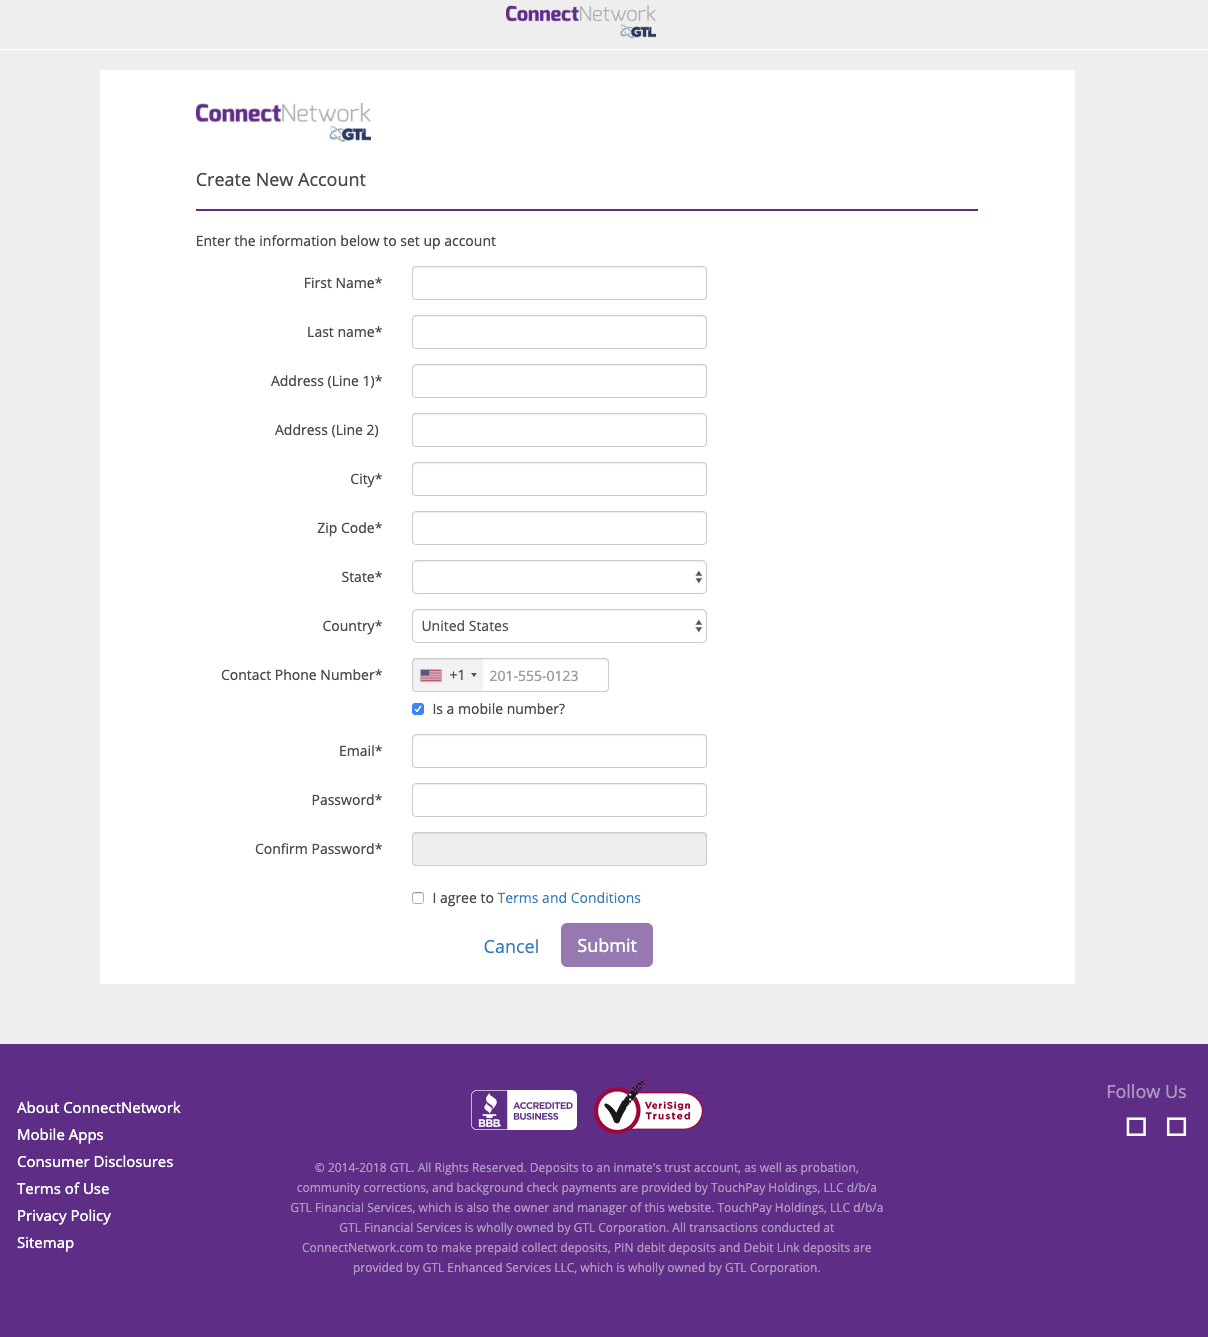
| 2. On the Profile Information/Account & Security Information page, enter your information* – it is very important that your first and last name match what is on your government-issued ID (driver’s license, etc.), as it may need to match official visitation information for security purposes.
*If you don’t have an email address, please click here. Once you have an email account, fill in all the fields on the account setup page, check the box at the bottom to agree to “Terms and Conditions” and then select “Submit.” If you did not fill out all the information, or any of the information does not meet the mandatory requirements (character length, inclusion of numbers, etc.), that item will be highlighted in red and you will need to correct it before continuing. |
 |
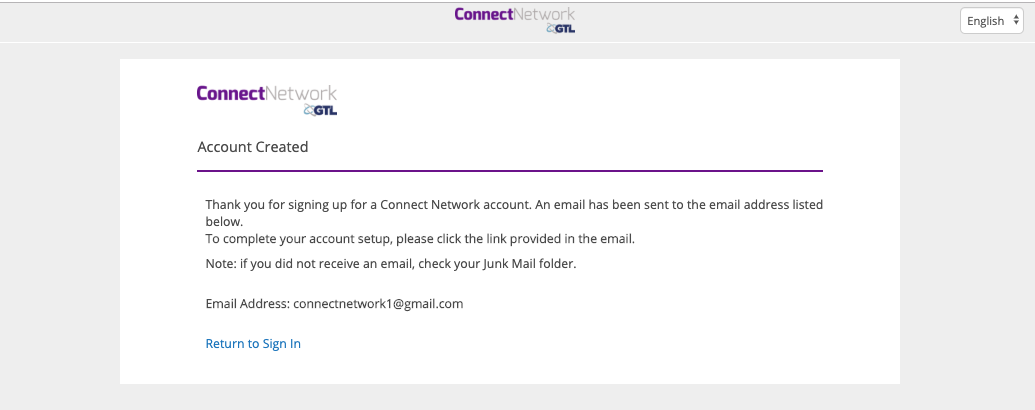
| 3. You will now be taken to the confirmation page. It provides directions on the next steps to take. You will need to activate your account from the email address you provided in Step 2 in order to use your account. (If you don’t receive the confirmation email in your inbox, please check your spam/junk folder.) |  |
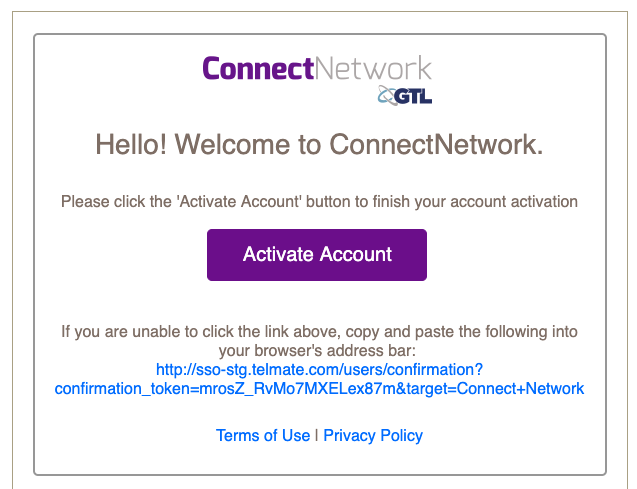
| 4. Inside the email, you will see a link to “Activate Account.” If you click this, you will be taken to ConnectNetwork. Once there, you can sign in to the site using the email address and password you created during the account setup process. If the link does not work for you, copy the full link provided and paste it into the address bar of your browser and activate your account that way.
Once your account is activated, whenever you visit www.connectnetwork.com, you just need to enter your sign-in information to access the site and manage your account. |
 |

